Bloody Civilian, the Nigerian singer-songwriter and captivating performer, has recently unveiled another incredible hit song titles “How To Kill A Man”.
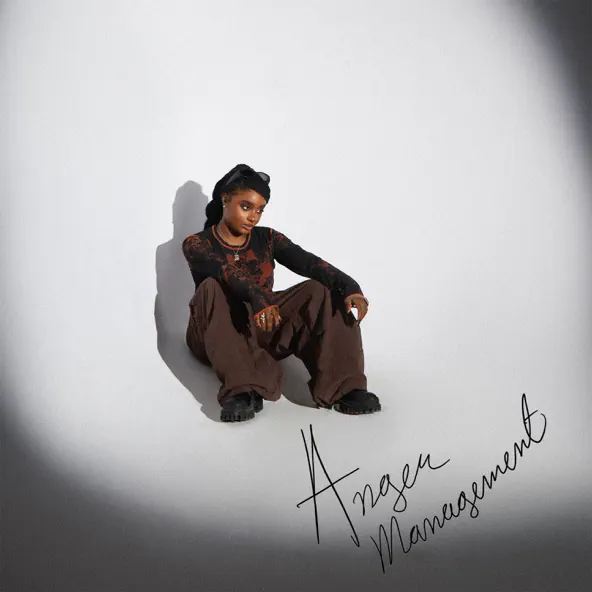
this inspired track is also part of her 6-tracks extended play project titled “Anger Management” was officially announced on the 8th June 2023, through her, Bloody Civilian.
this impressive track is a song that will surely merit a space on your playlist if you appreciate good music.
Enjoy and Download!
DOWNLOAD MP3
LYRICS
Bloody
Let me show you how to kill a man
Proper ohh
Got to do it when you strong
Not when you sober oh
And if you know that you strong
Hmmm omo na to slap am oh
And take him to the backyard oh
And give him with the dagger oh, yeah
Anybody wey cross my meter
I got many problems ask my sister ah-ahn
Ask my brother
Anger wey dey boil like heater ah-ahn
Cross my meter
I got many problems ask my brother yeah
I got many bullies coming your way
Say
Oh murder oh murder
Oh murder oh murder
Oh murder oh murder
Oh murder oh murder
Go down, down go down, down
Go down, down go down, down
Go down, down go down, down
Now it’s time to put the nigga six feet under
Feet under
Olopa see them lurking, yeah, yeah
When the people talking
Nobody gonna do shit
Last last na to give them 4k
What the fuck you talking
Talking on your grave is a job well done
Rest in peace is a dying song
I’m a fucking killer, killer, killer, killer, killer, killer yeah
Anybody wey cross my meter
I got many problems ask my sister ah-ahn
Ask my brother
Anger wey dey boil like peter ah-ahn
Cross my meter
I got many problems ask my brother yeah
I got many bullies coming your way
Say
Oh murder oh murder
Oh murder oh murder
Oh murder oh murder
Oh murder oh murder
Go down, down go down, down
Go down, down go down, down
Go down, down go down, down
Now it’s time to put the nigga six feet under
Feet under
Oh murder, murder, murder hmm
(Ok) murder oh I
Oh murder, murder, murder hmm
(It’s a murder, murder)
Murder, murder oh I
Oh murder, murder, murder hmm
(Alright) murder oh I
Oh murder, murder, murder hmm
Murder oh I urh
Murder oh I
Yeah


